
I can't take credit for this repair as I got the idea from a recent posting on the Alfa 164 Discussion Forum.
Last fall the heater blower in our '91 164 stopped working. I was able to get it going again using several of the methods available in the forums. The one which worked best was the whack with my fist on the blower housing. Periodic spraying with WD40 helped keep the screeching down to a minimum. While on a recent trip, the blower finally got to the point where no amount of whacking and creative Italian cursing would get it going again.
Anticipating the eventual replacement of the blower, I already had a new unit from IAP in the trunk as I waited for the motor's demise.
John Wiltshire has some great step by step instructions for replacing the HVAC blower the right way. His instructions can be found online here.
I took a somewhat different route for my repair. My main goal was to avoid purging the R12 from the AC system. My secondary goal was to get the fan working again. Shops here in the Washington, D.C. area charge astronomical prices for even minor AC work. Also since the AC itself was working fine, I didn't want to risk the chance of introducing leaks into the system by removing any hoses or connectors - a very likely scenario considering my mechanical skills.
Someone on the 164 forums mentioned that he had replaced his blower by cutting an opening in the top of the blower housing and then taping it shut. This got me thinking...
Years ago, my father's 1972 Chevy Caprice required a blower replacement. Replacing the blower in that car was apparently somewhere along the lines of 164 stepper replacement as it was going to involve a dozen hours or so of labor to remove the dash and get to the blower. The local radiator shop suggested that they just cut an opening in the wheel well to gain access to the area where the blower was located. Once repaired, they just welded the cut metal back in place.
So I concluded that the idea of cutting the blower housing open without removing it first might actually work. I got out my trusty Dremel and prepared to work on the 164. I first removed the false firewall and all the hoses and wires that go with it to give myself the largest available area to work in. Then I started cutting. Below are photos showing my repair at various stages. Clicking on any of the images will display the full size raw image pulled from my camera (~500k.) Use your browser's back button to return to this page. I've tried to be as descriptive as possible with my captions.

I left as much of the structure intact as I could where the shaft protrudes and the two screws mount the motor.

Full front view of the opening. Removing the false firewall gave me some more room to work. Notice the "notch" I left
at the upper left to help me easily line up the parts when the cover was replaced. In retrospect, it might
have been a good idea to make a similar cut at the lower end. I also used the oval plug to help me keep the parts aligned. You can
see from this view that there's plenty of room to pull the blower assembly straight out of the housing with minimal twisting and bending.
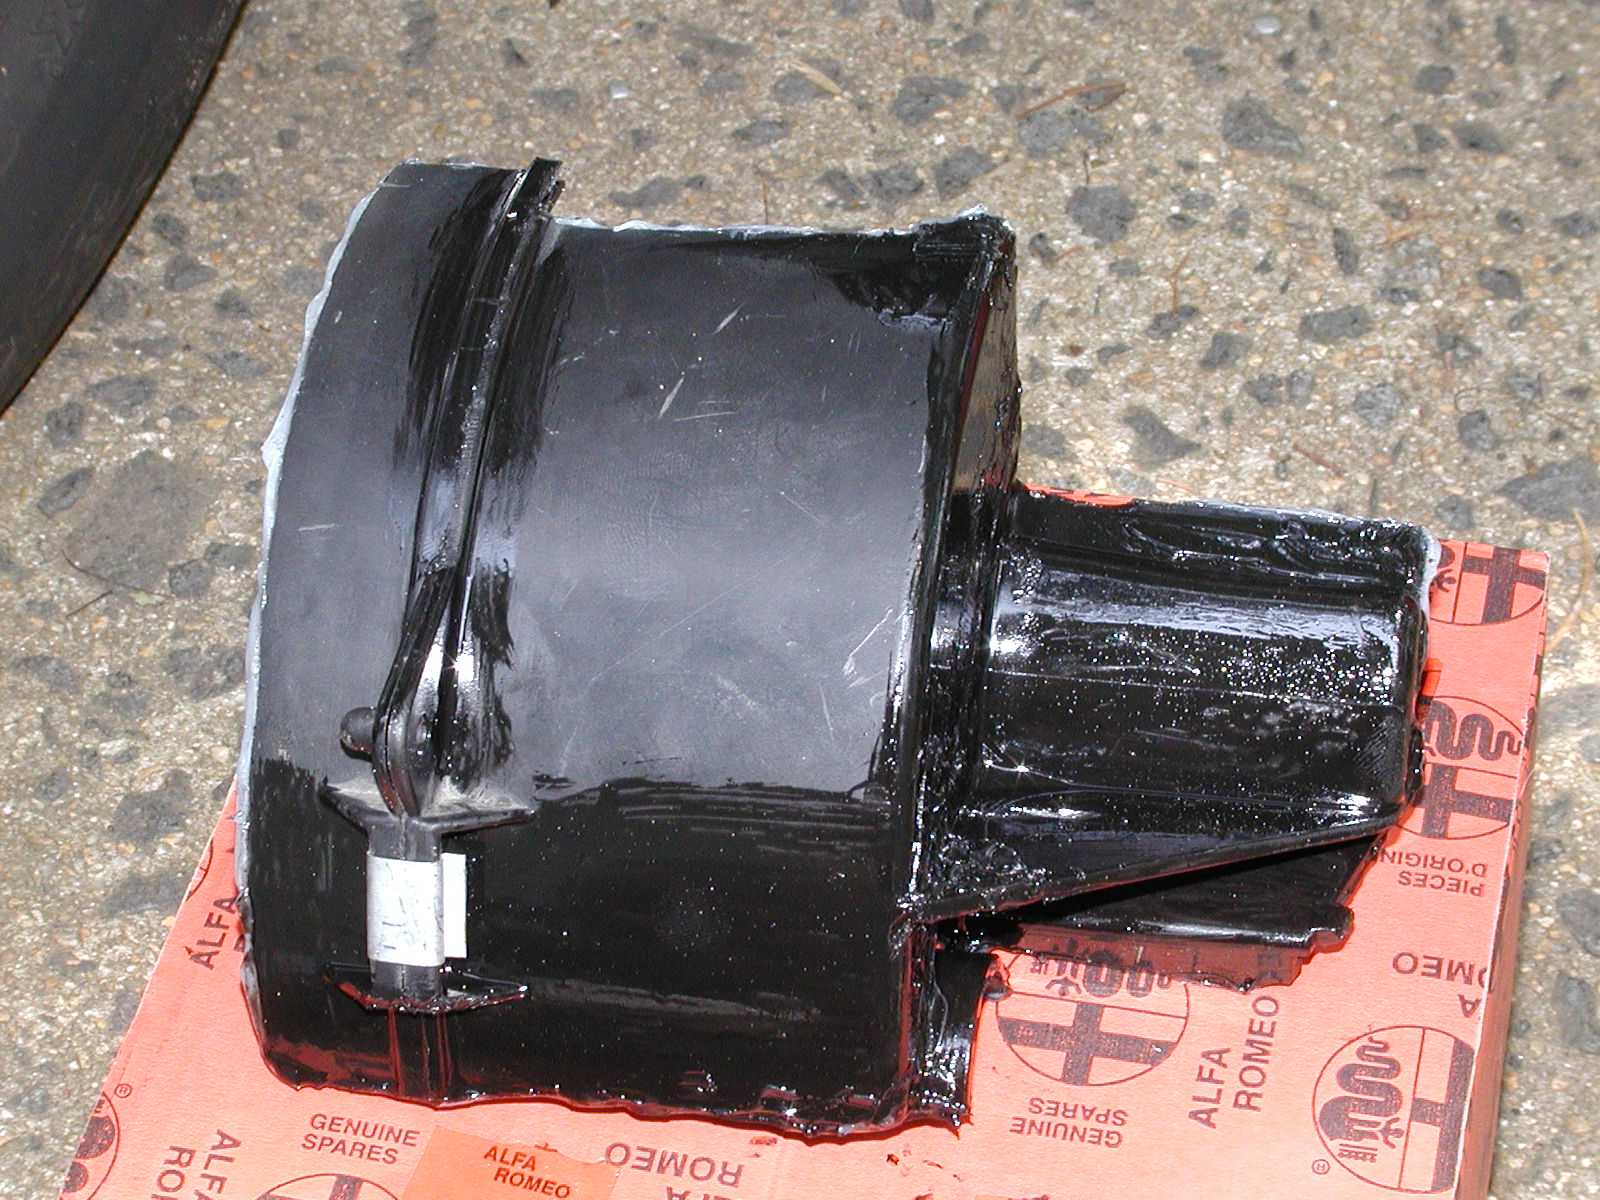
View of the removed piece of the housing. I had originally made my cut over the blade section thinking that I could
pull the unit out at an angle. I couldn't so I ended up cutting the piece directly above the motor. I epoxied the pieces together
and slapped some black paint on it to take this photo and to give you a good idea of the overall shape. Notice the sloppy bead
of epoxy around the edge I used to replace the 2mm of plastic removed by the Dremel.
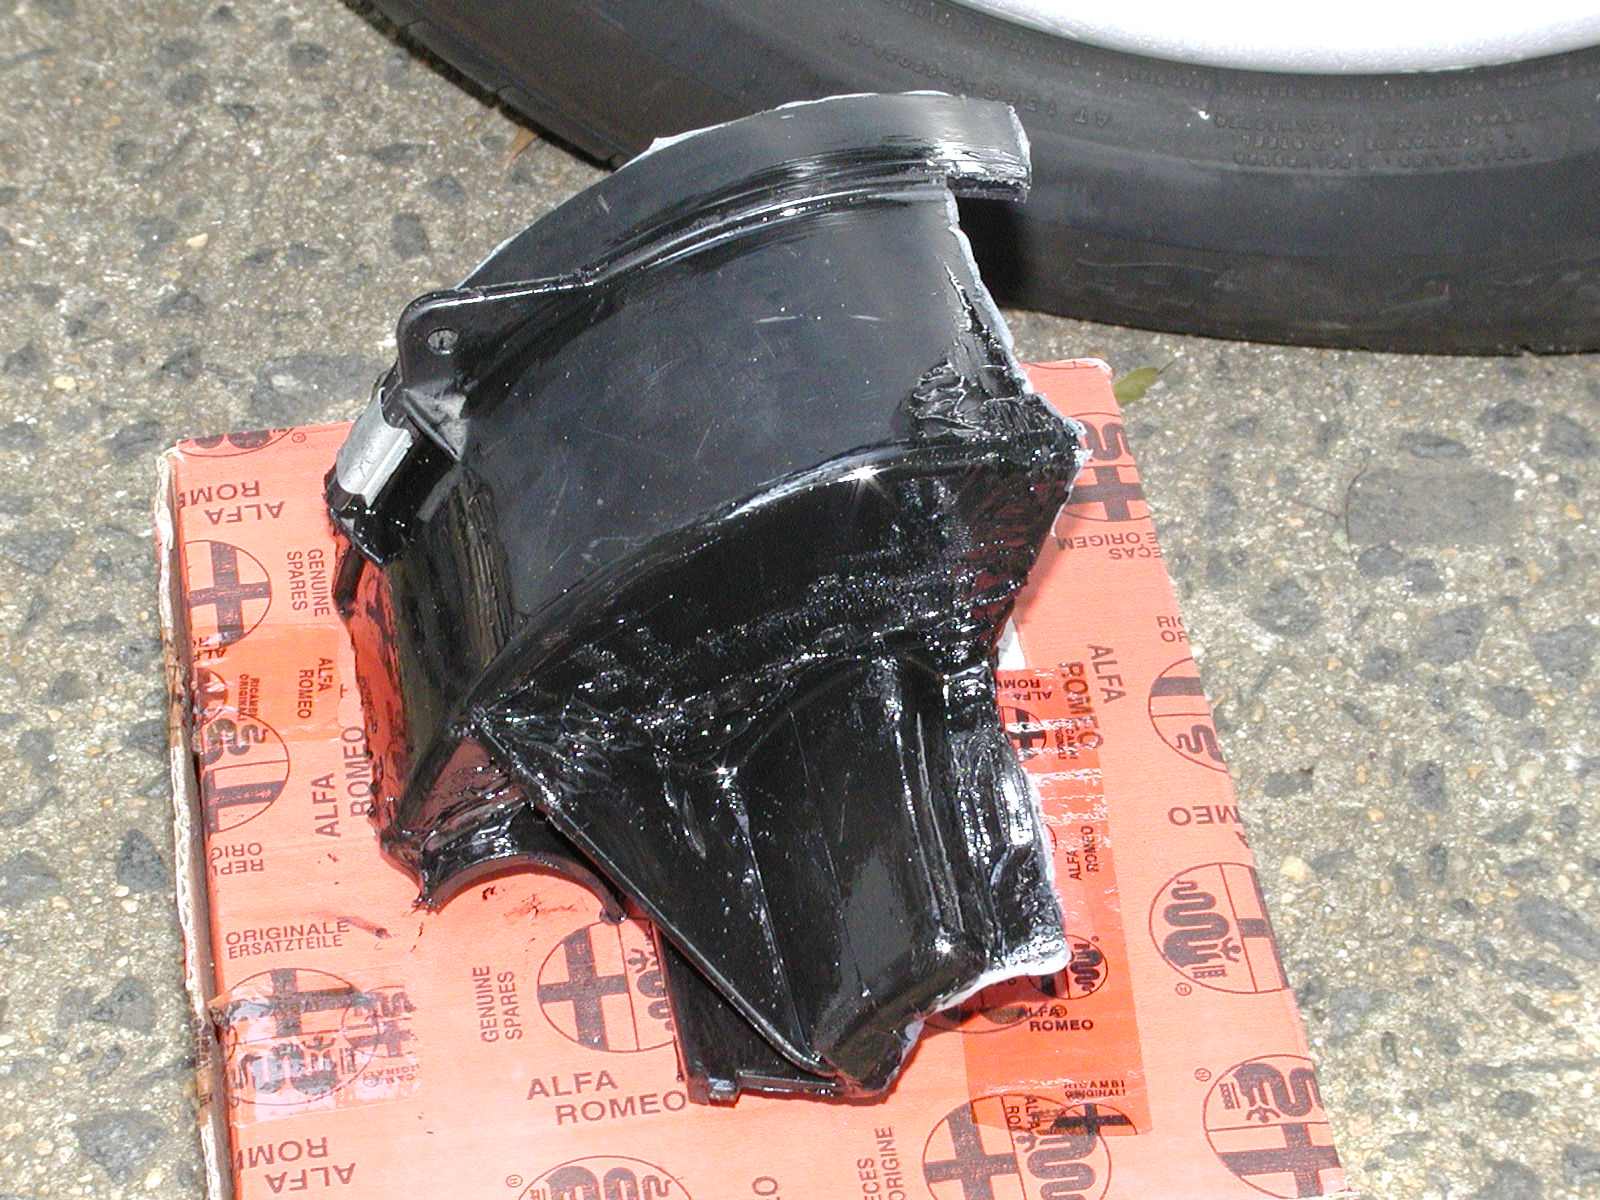
The removed section from a different angle. You can see the notch on the upper section and the upper part of the opening
where the oval plug fits on the left.
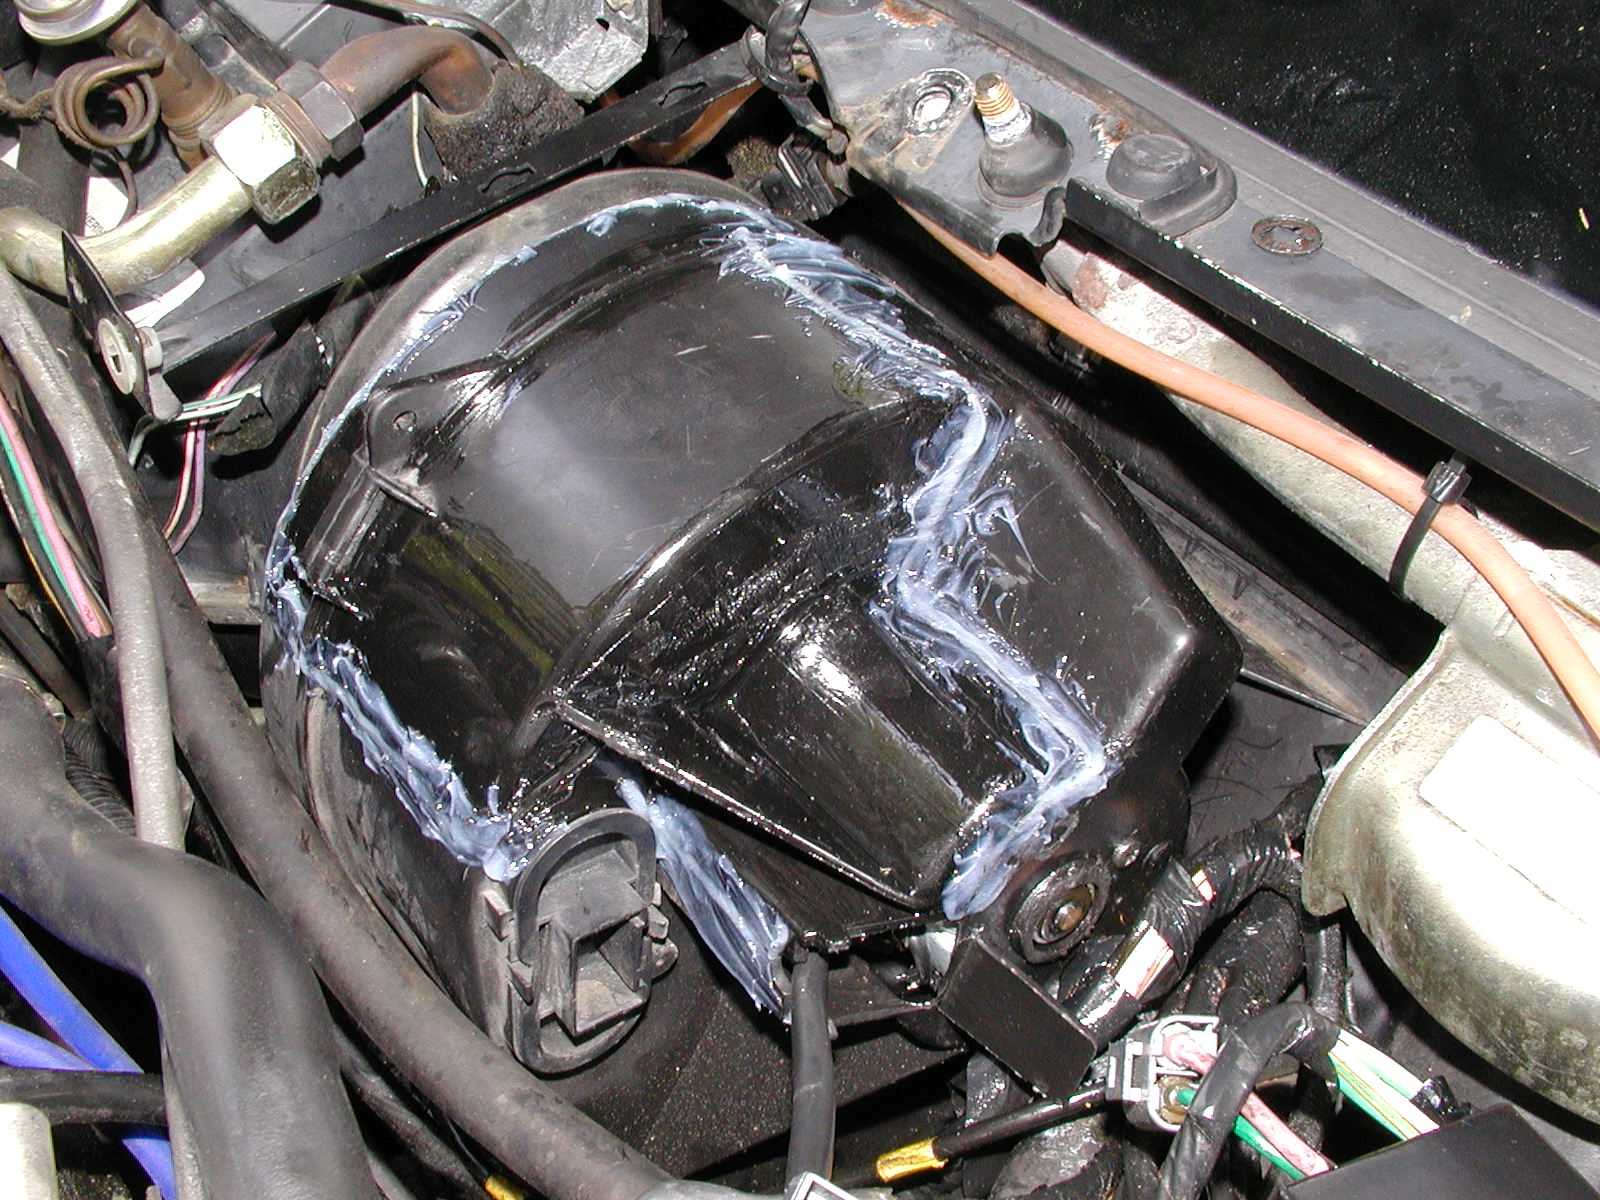
Here is the finished repair. Once in place, I sealed the repair with epoxy. The epoxy adheres nicely to the rough edges left by the Dremel's cutting wheel.
The epoxy I used was a 5 minute gel type readily available at Pep Boys. I used the gel type so I could build up the edges easily and because I figured it wouldn't drip through the openings and onto the blades as I sealed the housing pieces.
View of the finished repair from the front. Remember that this is all covered by the plastic shield that sits below the windshield so it's not normally visible.
Before putting the epoxy away, I put 12 volts to the blower connector and felt around for air leakage. Any leaks were filled with more epoxy. Once satisfied, I reinstalled the false
firewall and its associated parts.
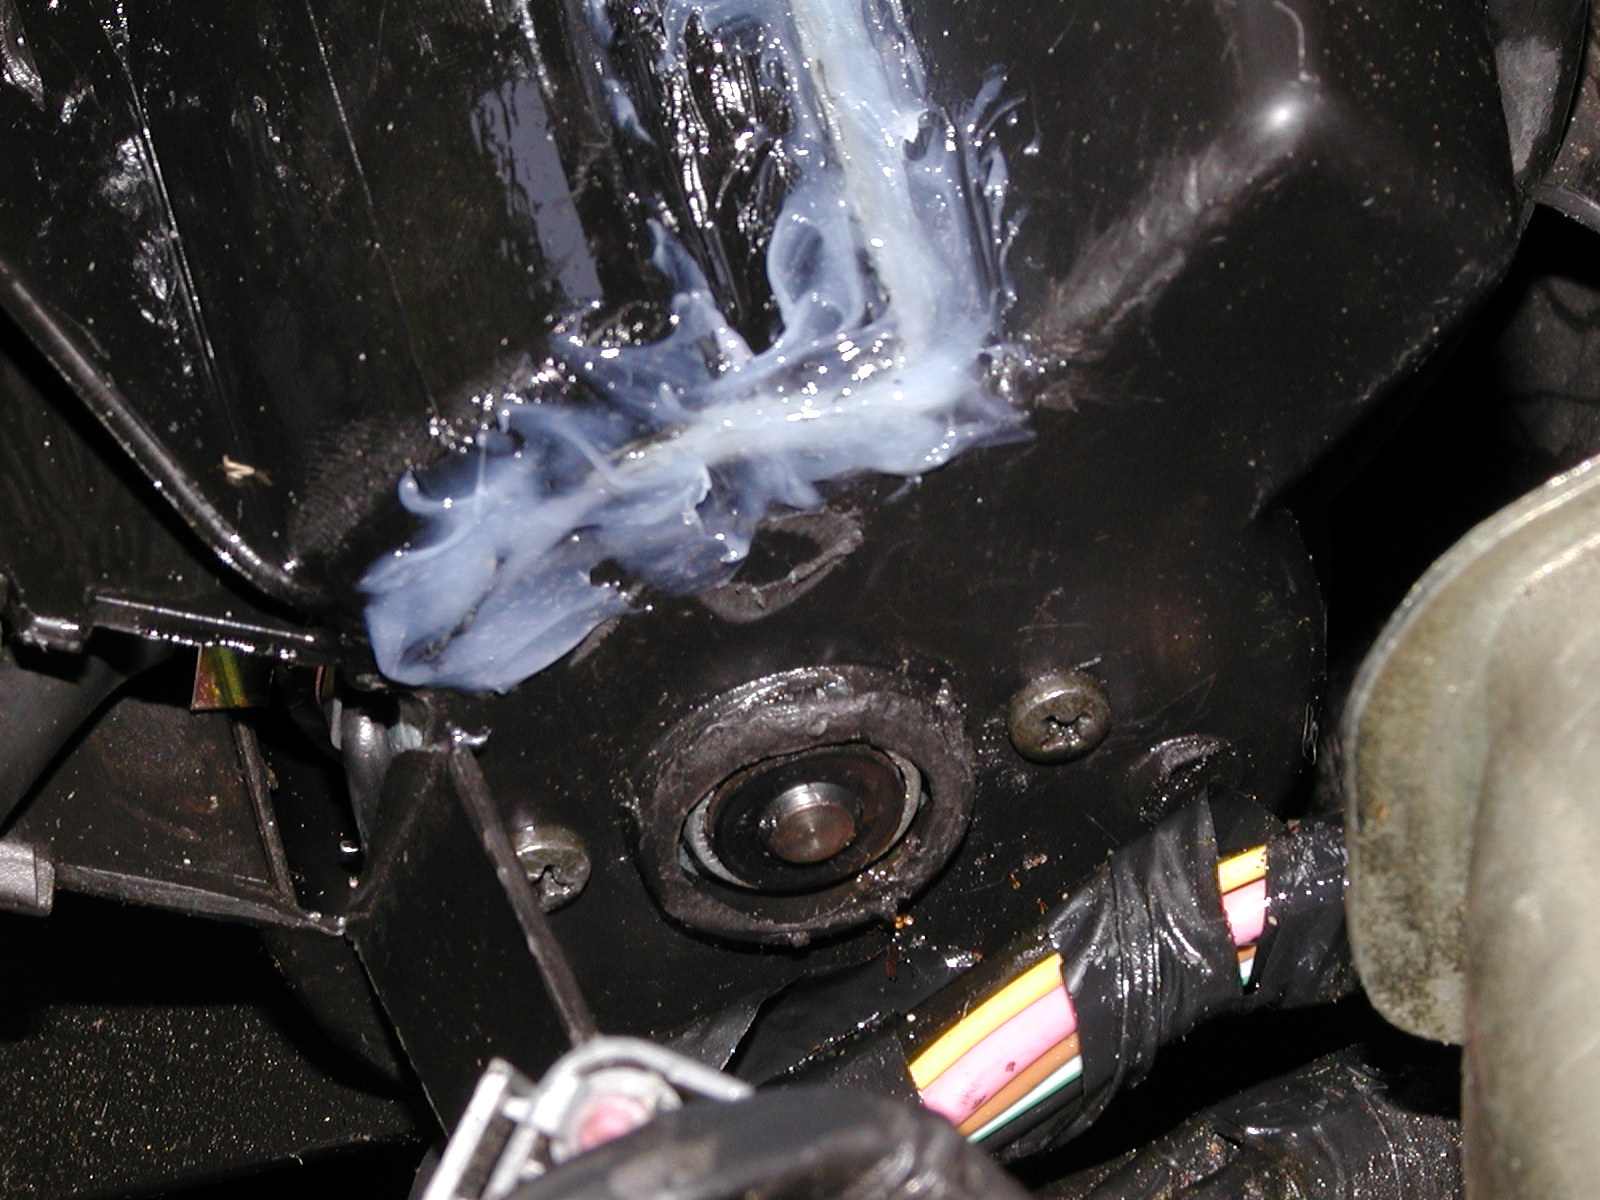
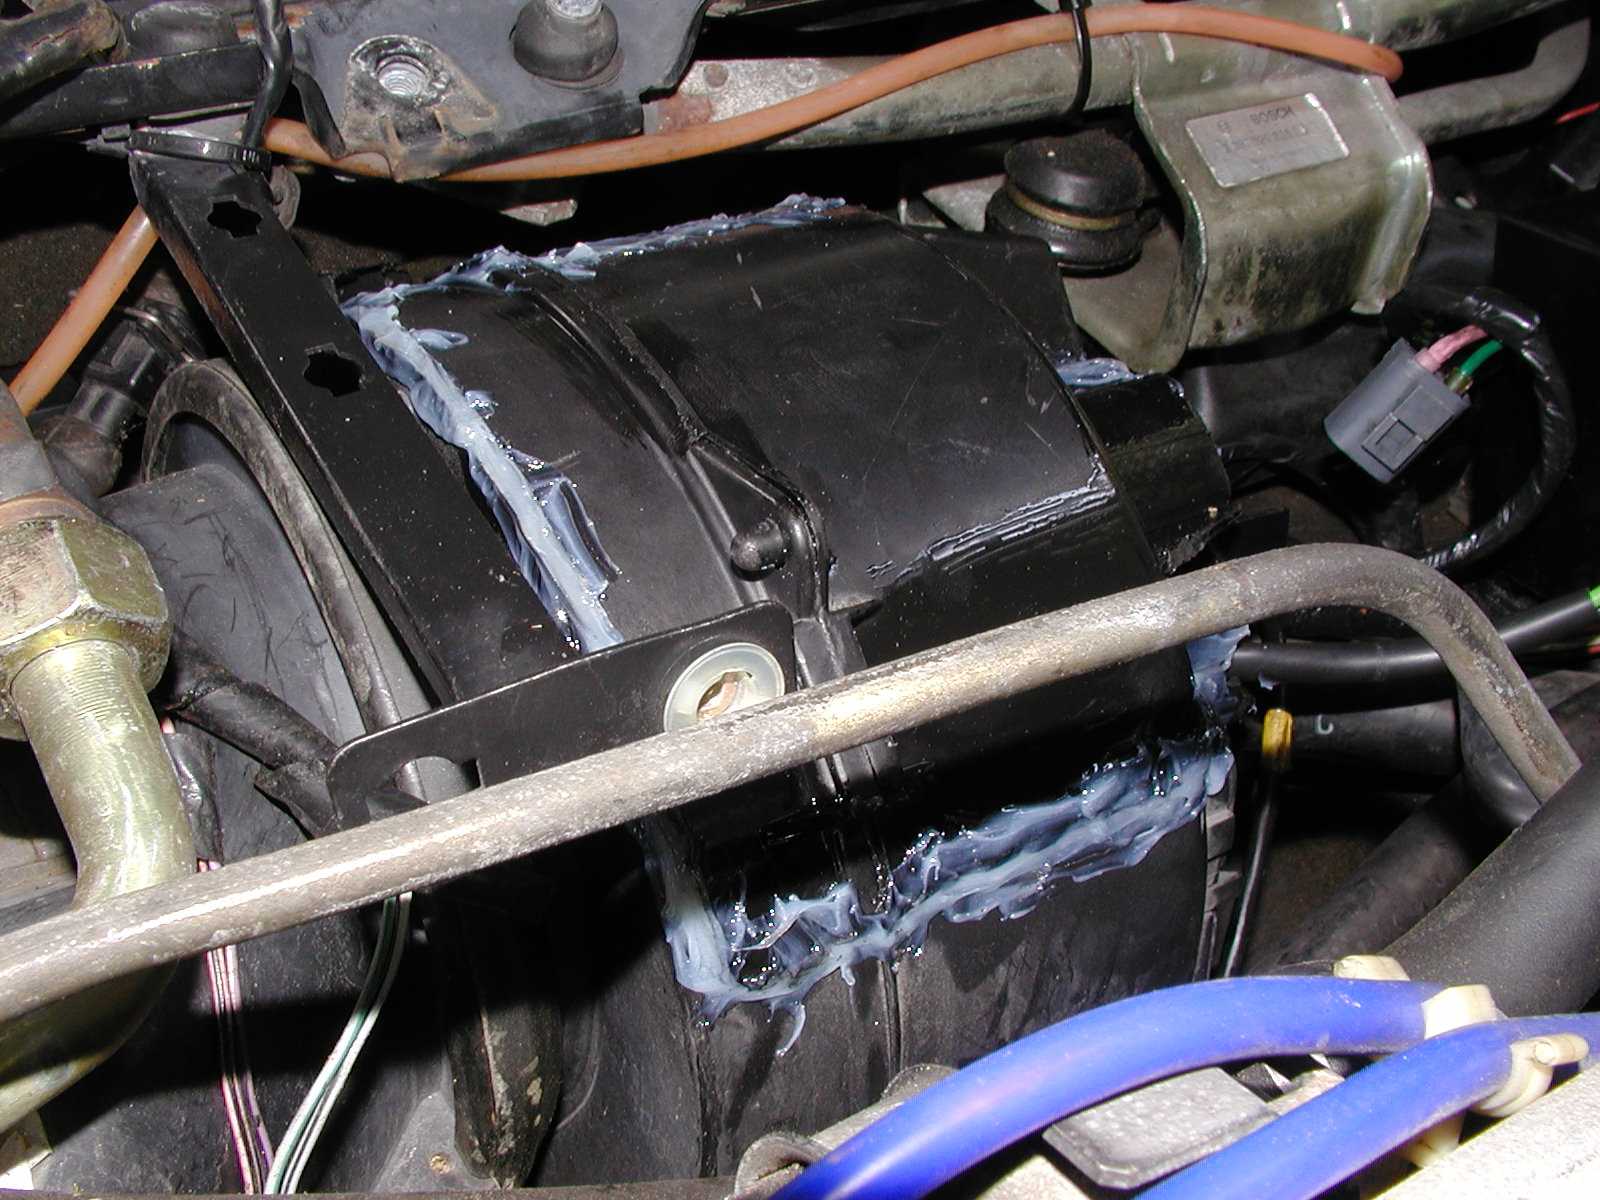
Closeup of the housing where the motor shaft protrudes. I left as much of this area untouched as possible so the motor would have a good solid
foundation. In this image, the little "door" where the power cable comes out is still open. Notice the marks on the housing around the shaft
detailing my previous repairs with a hammer.
The whole job took about four hours including a short lunch break and the drive to Pep Boys to pick up some epoxy. I accomplished my goal of getting the new blower installed without having to deal with purging the R12 and I am happy to report that all seems to be working well. The new motor is much quieter than the one it replaced and I haven't noticed any abnormal vibration in the area of the repair.